Making a Human Skeleton Model (Mini) Part 1: Preparation
Until completing the human skeleton model (mini)
I will write articles in several parts. In addition to the assembly guide, I hope you can refer to these photos.
Preparing Tools
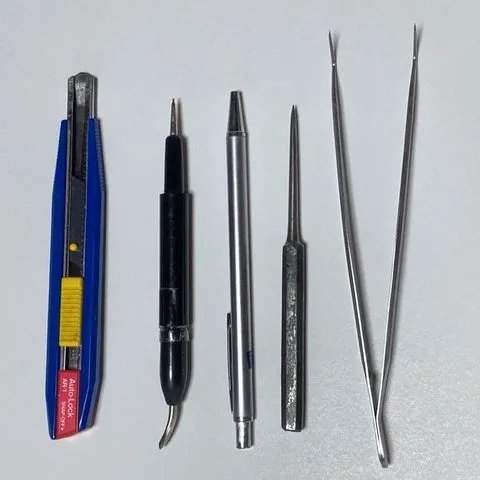
There may be things mentioned in the guide that you might not be able to imagine, so I'm including photos here. The items in the photos are quite old as they're what I use. Choose tools that you find easy to use.
From left to right...
- OLFA cutter with auto-lock (blade is special black blade small BB50K)
- Transfer letter remover (for pressing small folds and crushing burrs)
- Click-type pen-style scriber (for removing small holes)
- Awl (this is one my father used with an unknown manufacturer, but ones sold on Amazon, craft stores, or art supply stores are fine)
- Tweezers (gooseneck type)
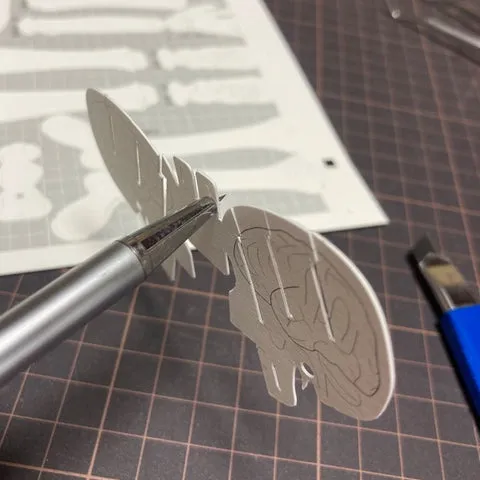
Removing Parts from the Sheet
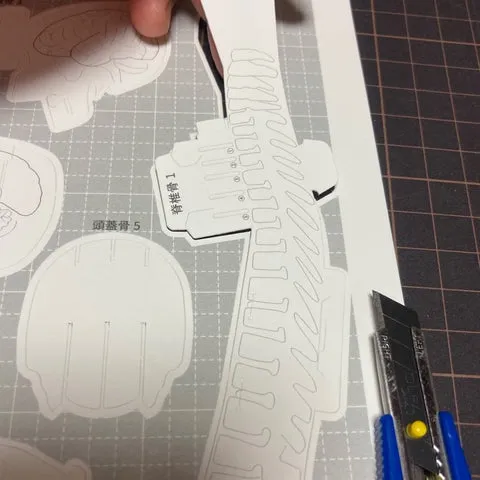
Parts are attached to the sheet with "connectors." If you cut the connectors with a cutter and remove the parts, you won't leave bumpy protrusions. Large parts can be pulled off by snapping them, but small parts may tear, so carefully cut them off at the connector points.
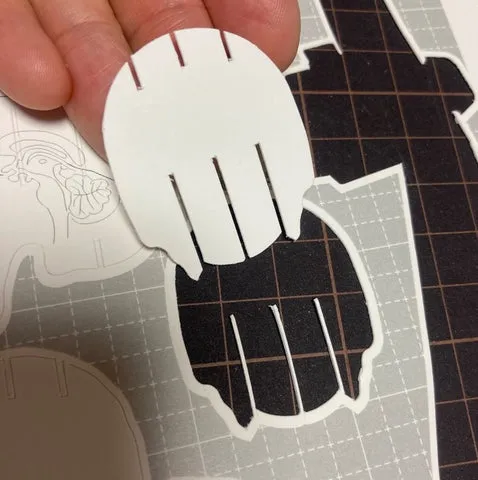
Clean out the small holes neatly as well.
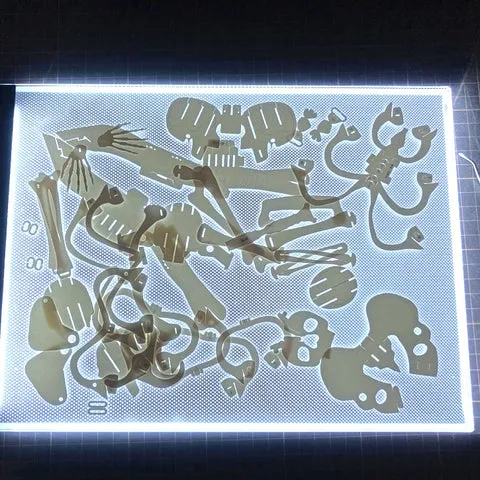
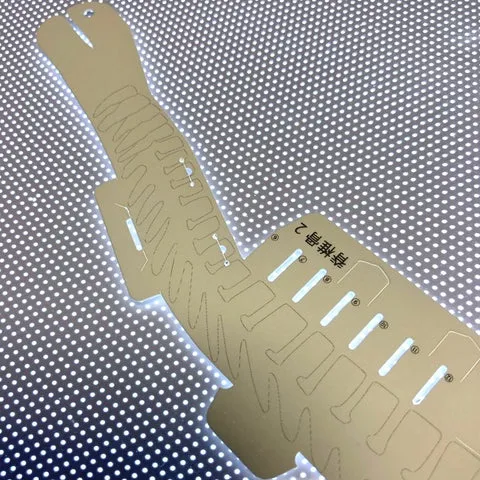
All parts have been cut out.
The sheet has part names written on it, so please keep it for now.
Next time: Skull
Contact Us
We are happy to discuss package design, papercraft, and other paper-based products.
Contact Us